")
One problem has pervaded all of my previous RC planes: weight.
While I have been trying to minimize this one parameter in every plane since Augustus, it was only after I flew my third RC plane, Caligula, that I understood a more aggressive approach was necessary.
This blog describes the construction of my fourth 3-channel RC plane, Claudius.
Beginning with the fuselage, I maintained the same design used on the previous two; that is, foam board cut and folded so as to feature a square cross-section. It was, however, slightly shorter than Caligula’s. (This wasn’t an intentional decision; I simply measured incorrectly.)
For the elevator and rudder, I reduced their surface areas significantly, per the advice I received from a seasoned RC hobbyist. These control surfaces were then hot glued together and glued to the rear of the plane. A lot of unnecessary weight was avoided by doing this.
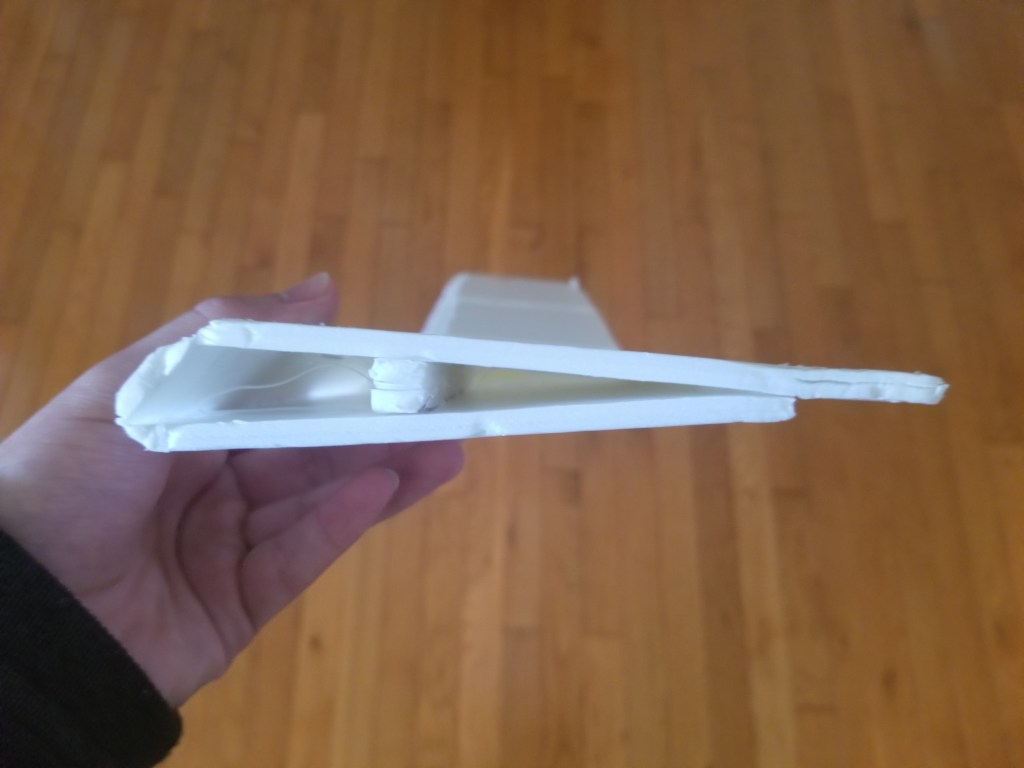
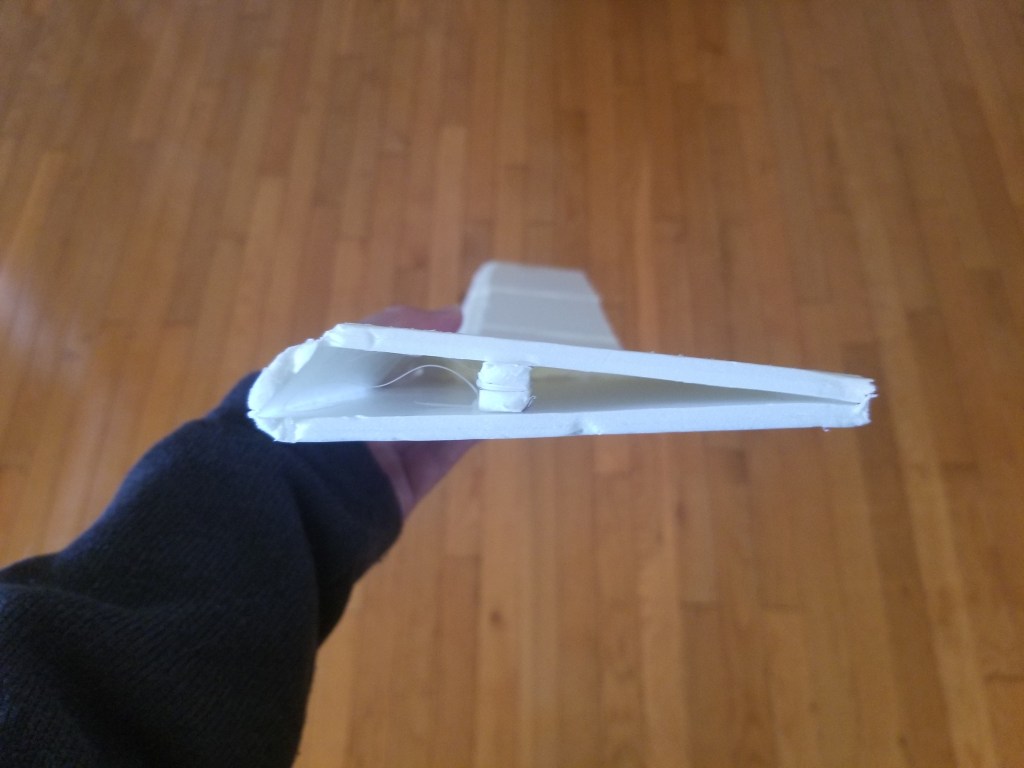
In this photo, you can see Claudius’ fuselage and tail assembly (left) beside that of Caligula’s (right). Both the aesthetics and flight performance, were altered in an immediately noticeable way.

Also as part of my campaign against excessive mass, I removed all of the tape that reinforced the wings, an amount totaling 39 grams! The consequence with proceeding thusly, of course, is that the wings would be more vulnerable to breaking apart if the plane crashes. In my mind, though, this is a necessary risk to take.
Additionally, I cut off some of the trailing edge of the wings, probably saving around 25 grams:
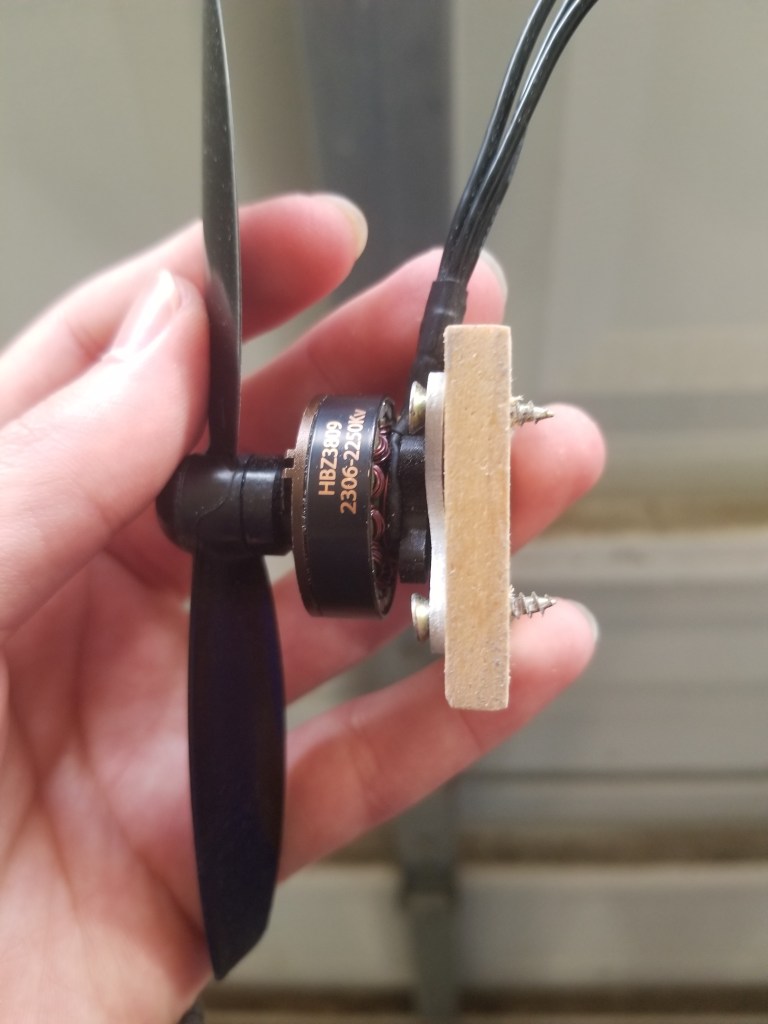
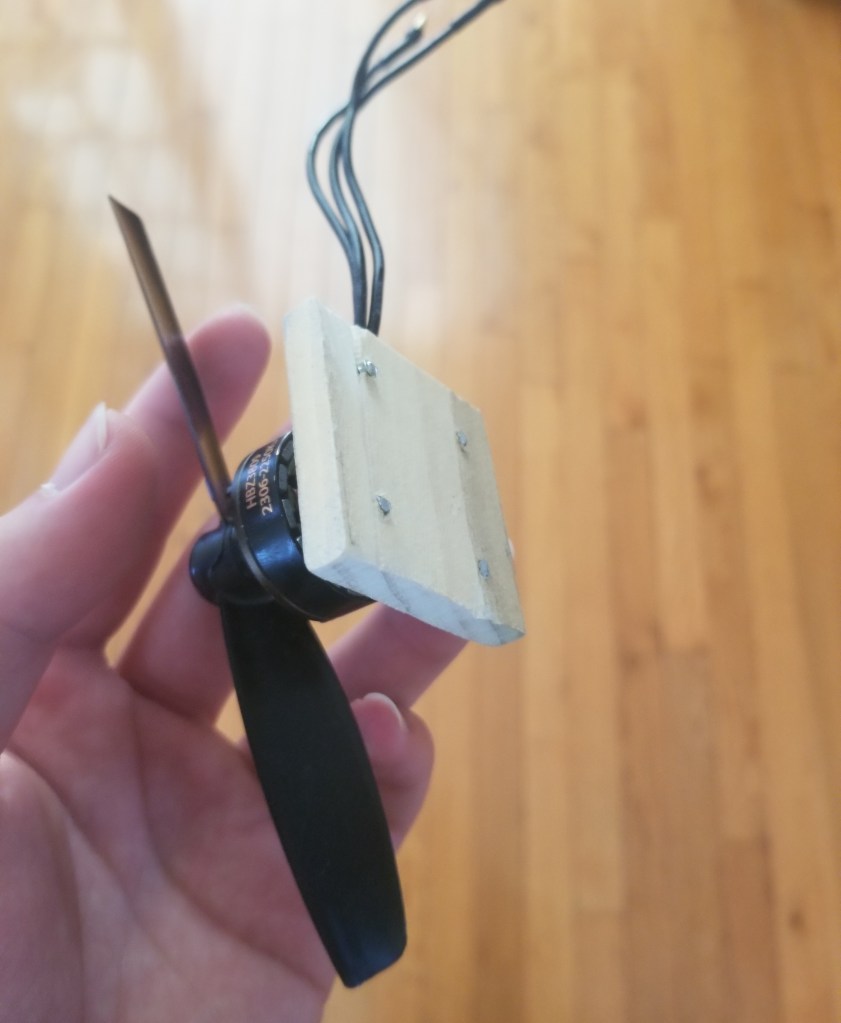
Continuing this beseigement, I reduced the number of wood pieces constituting the motor mount from two to one. The screws, however, were too long and stuck out, so I simply sawed them off.
With all of that done, I then ruminated for some time on what the most optimal servo configuration would be. After watching an excellent video discussing the intricacies of servo geometry, I realized why all of my previous rudder/elevator designs would favor one side instead of pivoting equaling toward both: The servo horn had to be aligned with the point it’s connected to on the control surface.
To achieve this ideal, I cut thin pieces of foam board and glued them to both control surfaces, making sure they were aligned with the airstream.

After charging a 3S LiPo battery, I tested the control surfaces and was pleased to see the geometry theory validated.
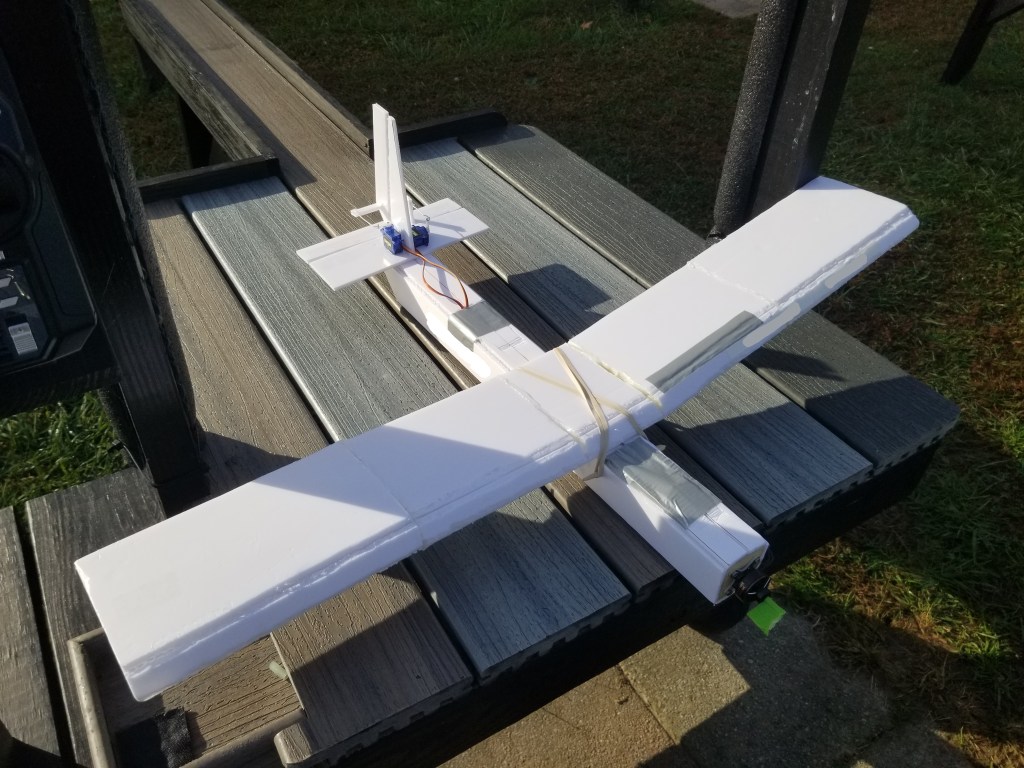
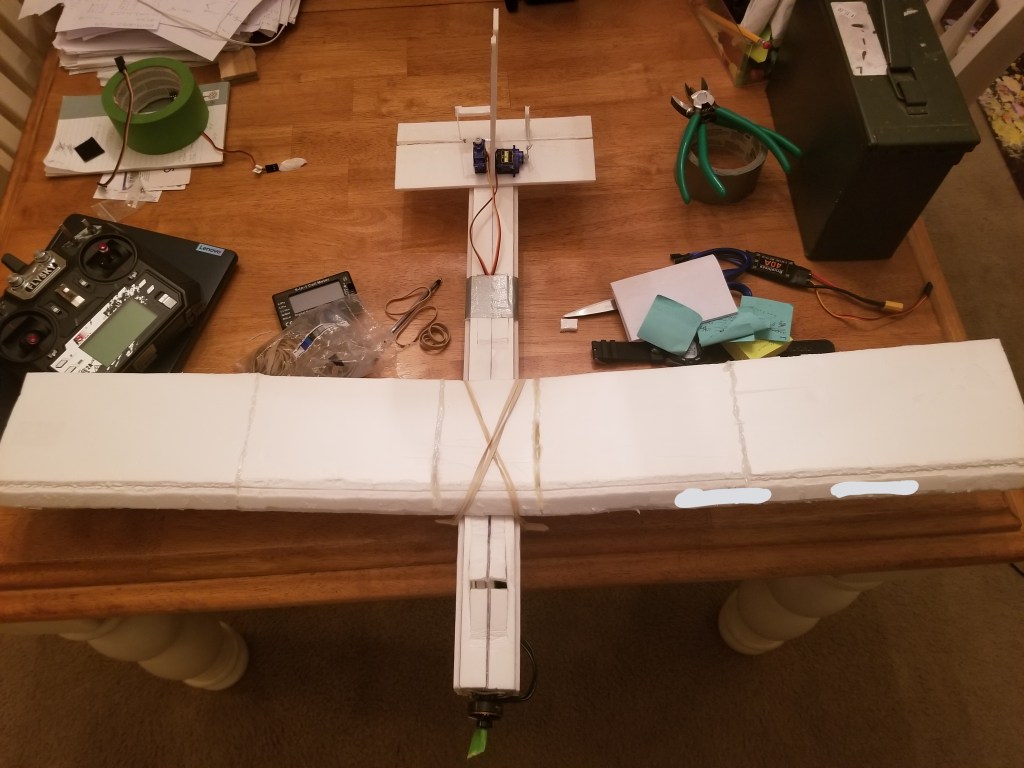
Lastly, I hooked up all of the electronics, with the battery positioned near the nose so that the CG would lie ~1.5 in. away from the wing’s leading edge.
At last, it was complete!
I have high hopes for this flight!
Ad caelum!
